
We build things!
Or should I say, built? Either way, we started with one thing and ended up with another - its like magic!
Only with real material, steps, explanations and results ... anyway, if you'd like to see what we actually built with our very own two - er four - hands, read on!
I'll get started with the fence.
Oh, the fence. The bane of my existence!
Well, okay, so I'm being overly dramatic here ... still, a rickety old fence
causes its fair share of woes. Trust me!
Wood panels do a few things over time - they dry out, they loosen up, they rot,
they get eaten by bugs, and they face many a windy day. 9 times out of 10, they hold on.
The fence, facing all of wood's natural enemies and winning!
But then there's those days when they lose

(actually, I had a picture of when the entire panel went down, but it was on my phone ...
and well now its not, so you guys are just going to have to accept this as a valid "before" photo)
Time for the humans to get to work.
Step one: the post

Dylan calls this event "getting lucky" when the old post pops right out of a perfect little square,
so all you have to do is insert a new post and add a little more cement.
Is it the Bob Villa or This Old House proper way to fix things? Not hardly.
But what it does is get the dang job DONE!
An important part of re-setting a pre-set post - clean it out. For this, we enacted the use of our shop vac

Once clean and full of a new non-rotted/eaten/destroyed post, it's time to pour some cement


We actually did this to two posts
Added a uh... connecting piece? Crap it has a real name that I just can't recall.... you know this:

The log at the top that the planks will screw into. Yeah, one of those!
Oh, and that post on the left? It was constructed from an old futon.
R-E-C-Y-C-L-E my friends, or shall I say upcycle? hah!
Alright, with everything measured, cut, cemented and set - it was time to put the fence back together.

(that flappy one on the left is because we haven't put the other connection-bar-thing-that's-title-I-can't-remember
still needs to be added to the other side, but for now, this works.)

In our fence's defense (hah!) it may very be as old as the house itself, which is almost as
old as I am. I have to give credit where credit's due, the fence has had a good long run.
It's just on its way out now ... and we're taking it on - one panel at a time!
Next up on the Boswell's Building List:

This radical saguaro.
It all started with one large square of - you guessed it - wood,
and a starting point of an idea from the good ol' internet.

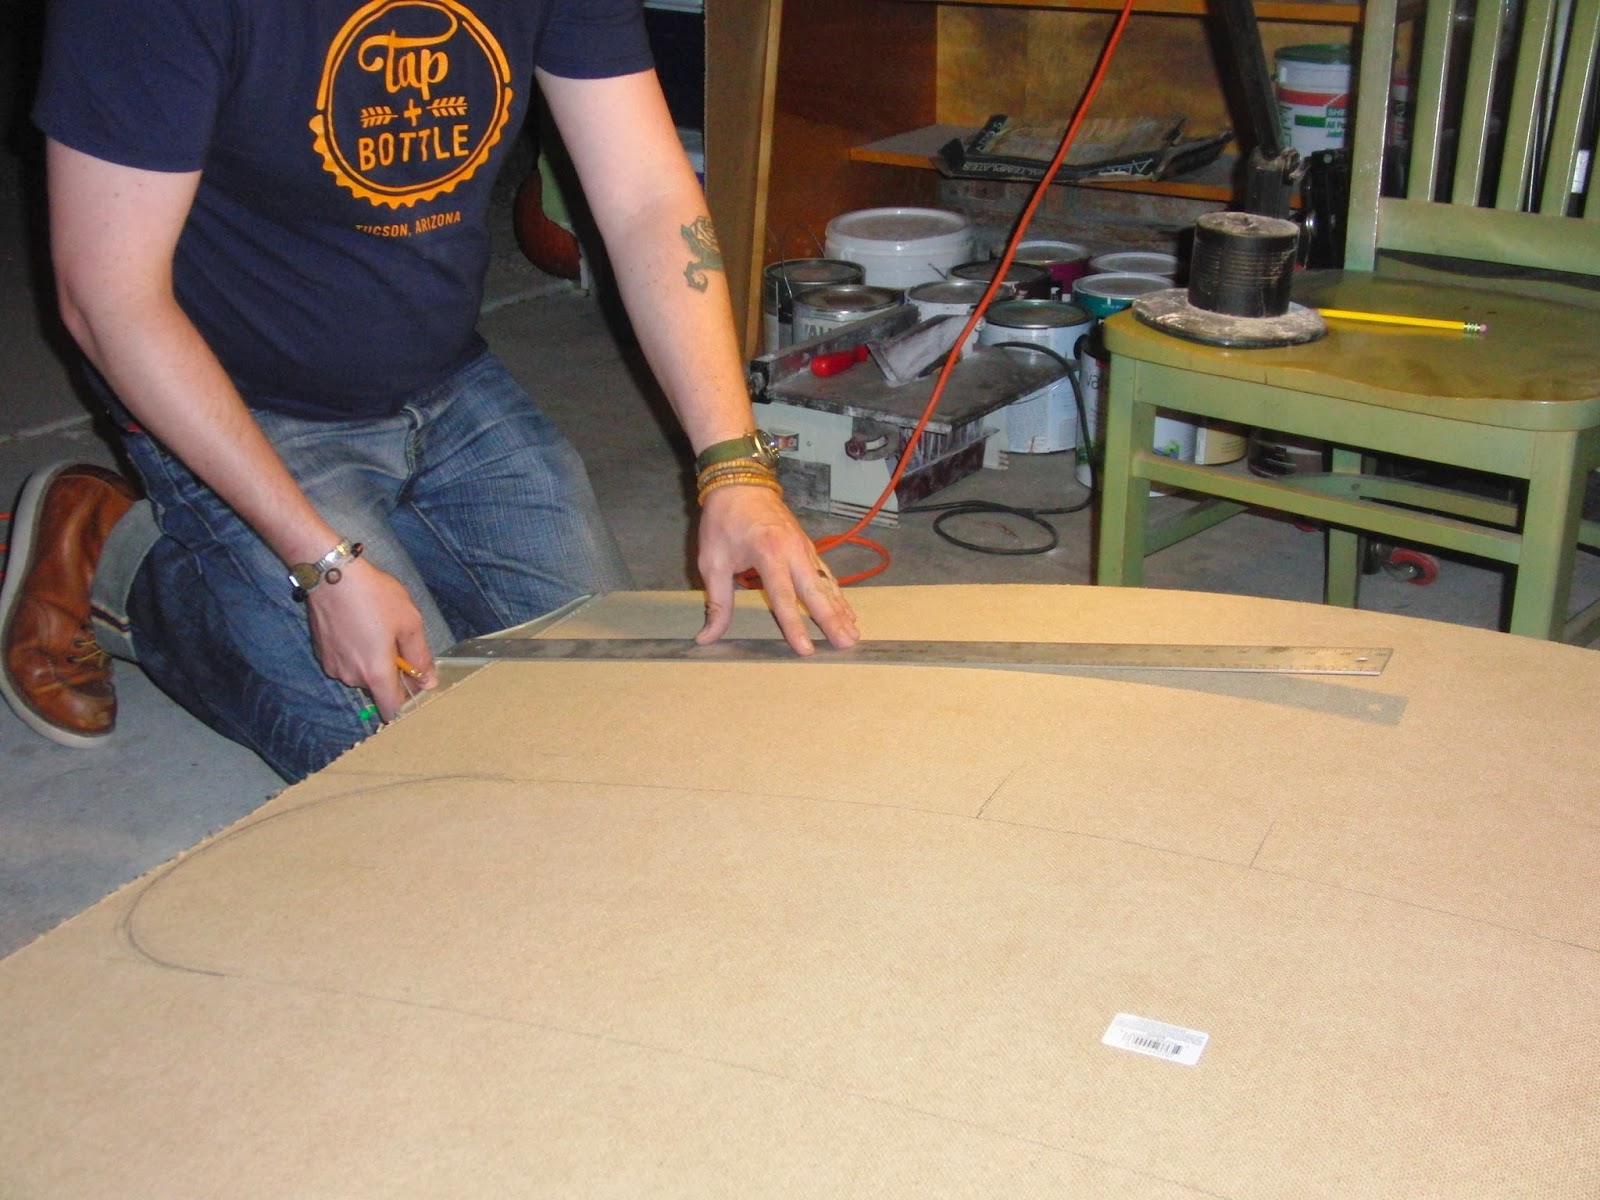
Dylan took his time to measure, and remeasure

and when he drew in the arms, he eyeballed their starting points and magically
(real magic this time!) got each arm to be exactly 7 inches wide.

See? (LOL Dylan wanted a photo to commemorate but I vouch for him, it totally happened!)
Dylan made a string compass to help round out all of the saguaro's
more circular areas and diligently sketched out a cactus


With the blueprint of a saguaro in place, time to cut!

That first slice!

Coming along nicely here
And you saw the end result already, but in case you need to see it once more:

Dylan made some more exact measurements to create a kick stand in the back, so it does indeed stand up on its own accord, and he reinforced everything with some sturdy scraps we had.
The reason this cactus came into being was for Dylan's office. It's serving as a non-denominational holiday icon. They had some volunteers who painted it green, and now it's in the lobby collection ornaments.
Nice work Dylan! Way to be The Boswell House's best builder.